This morning all I wanted was fresh bread. Like the kind you get at your local family owned bakery... but I didn't want to spend $10. So I took to
Pinterest to find the 'perfect' recipe. Unfortunately, it's a lot harder to find such a recipe. Many recipes are super easy, no-kneed, using 3-4 ingredients but required 12-14 hours to rise. Although I had 12-14 hours, my stomach and taste buds were only willing to wait 3 hours at most.
I finally found a recipe that was faster, but made 2 loaves... and I, being one person, only needed one loaf. So I made some amendments, tested it, and, if I may say so myself, turned out wonderfully!
Ingredients:
1 1/2 cups of warm water
1 packet of fast acting yeast
3 1/2 cups of flour
1 1/2 teaspoons of salt
1 teaspoon of sugar
Add the yeast to the water... let sit for a few minutes.
Do NOT use HOT water, or you will kill the yeast.
Mix the flour, salt and sugar together
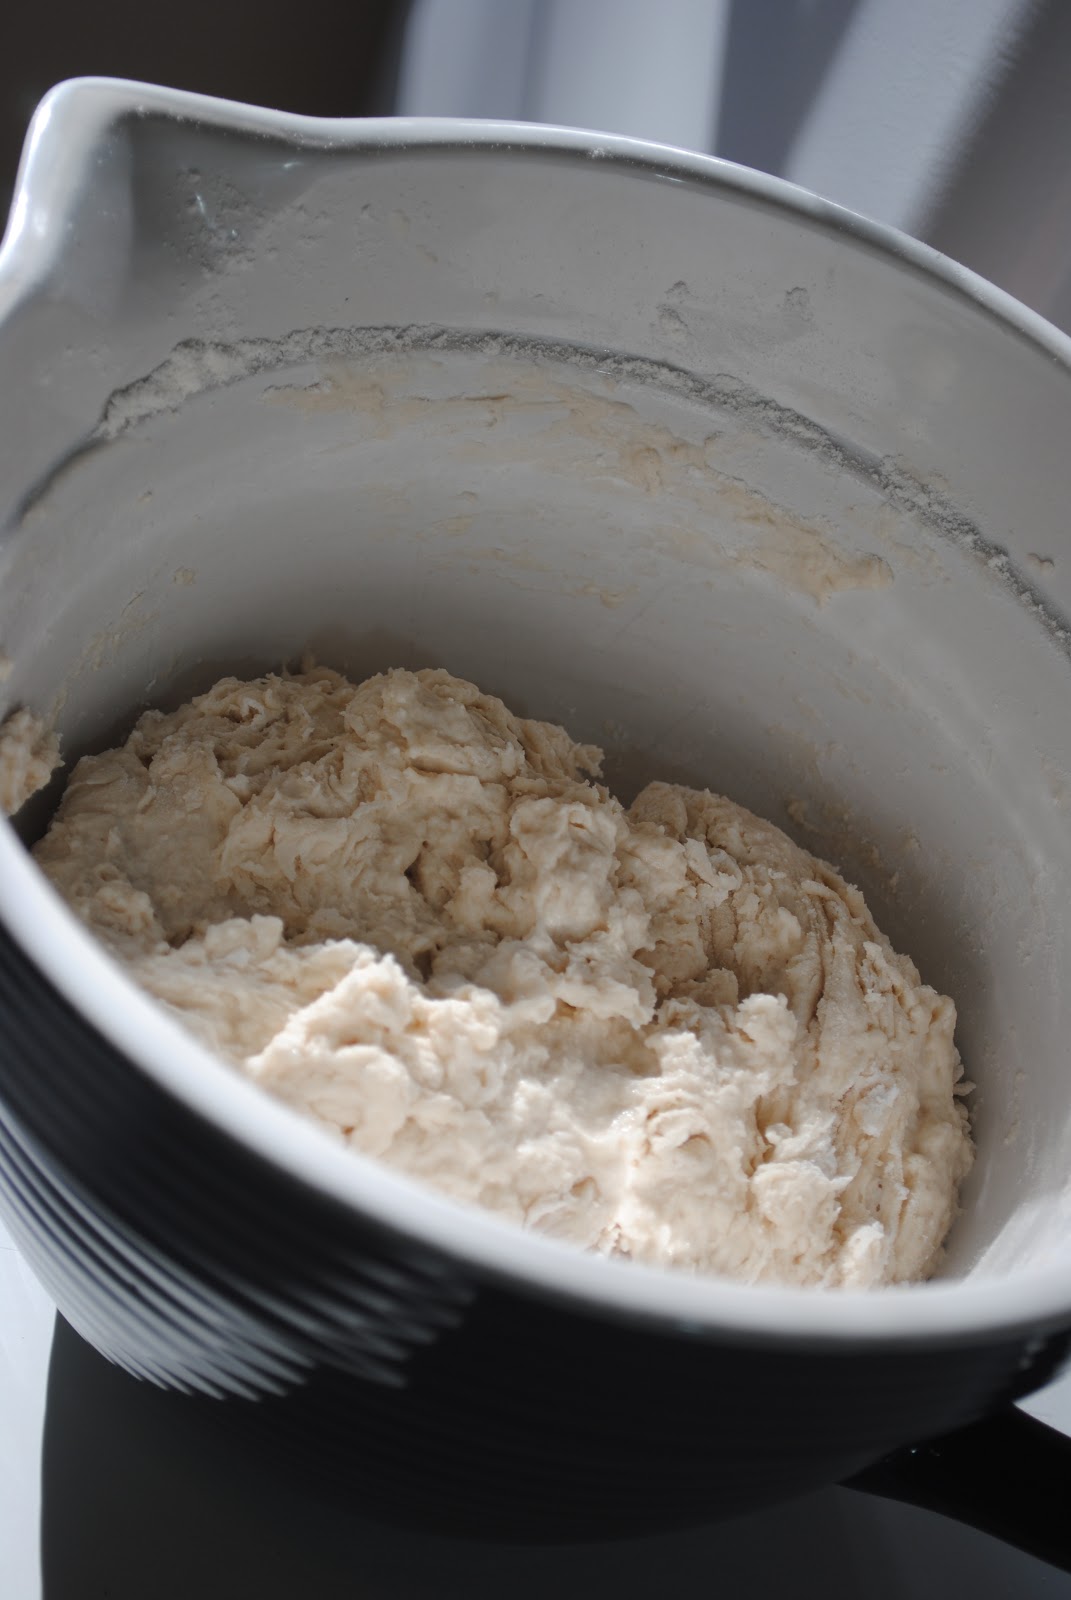
Add the yeast and water, mix slowly and carefully, folding as you go.
Try hard not to over mix, or the bread will end up tough.
After about 10-15 turns, it should look like this.
Cover for 2 hours. I like to take a towel, wet it, microwave it for 30 seconds and place it on top of the mixing bowl. It provides the bread with a warm place to rise.
This is after 1 hour of rising. 1 more hour to go!
Flour a surface (I used a baking sheet) and lightly flour your hands to keep the dough from sticking to them. After the dough has sat for 2 hours, pull it out of the mixing bowl, form it into a round (No Kneeding!), cut a few lines into it and pre-heat the oven to 450˙.
Put the pot in the oven while you pre-heat it. This will help give the bread a crunchy crust and bake faster. When the oven is ready, take the pot out (careful, it's HOT!), lightly grease it with Pam, sprinkle a little flour into it, then place the dough into the pot. It's okay if it loses shape or the lines cut into it. Put the lid and bake it!
Bake for 30-35 minutes (I suggest 35 minutes). When it's done, remove the lid and let it sit for a few minutes.
Pull it out of the pot and let it continue to cool on a cooling rack.
The bottom of the bread
Enjoy with olive oil, butter, or just plain!
Feel free to share... Photos are original, please give credit to
Jeanne Marie, ApronStringstoDiamondRings
©ApronStringstoDiamondRings All Rights Reserved

 Yep, BAKED BACON! AMAZING! This is probably the whole reason I'm writing this post... to share my discovery of baked bacon. I've seen it all over Pinterest, heard about it via the Food Network, but never tried it. Well, I'm here to say I should have tried it sooner because it is beyond incredible!